Monday 25 August 2014

Starting to take shape

My project is really starting to take shape now.  The making has been slow going because I keep second guessing myself.  I'm really pleased with it though.


I've put most of the spacers in place.  The ones at the front are to keep the front panel in place.  The ones on the top will help support the next layer.  The front panel and the topmost panel are not glued down yet as I still have more work to do on both before they with be ready to stay put.


 This is how it looks with the next layer and the front panel on.


I'm still working out positioning at the moment and I'm still deciding on colours (I keep changing my mind).  I still have another layer to work on, the drawers and the side panels.

I'm excited.  I think the hardest part is done now.  I just hope the top works as planned.

Housework is calling me.  Hopefully I can get back to this again later today.

Laters

Naomi

Thursday 21 August 2014

A step forward

Life has been keeping me busy, but I have managed to make a little progress on my design team piece for Fernli Designs.  I have cut some of the chipboard and this is how far I have gotten with the construction.


What you are looking at in this picture is the bottom, middle and back chipboard pieces and the Open topped desk storage boxes shown below.


I still need to get the sides cut and put on and to make the 5 drawers.  After that I can get to work on the top.  I think this project will look quite ordinary until the top is in place.  I'm really looking forward to making that bit.  

My new business venture is going well and I'm looking forward to being able to tell you more about it and revealing our logo.  I love it.  


This is the closest I can get to showing you how I feel.

I'm off to feed my son as he says he is starving.

Laters

Naomi x

Saturday 16 August 2014

All in the eyes

It feels like forever since I crafted and then today I woke up with my mojo in overdrive.  I wanted to make everything.

This morning I cut some of the chipboard for my DT project and this afternoon I started work on this mask.


This mask has been inked, stamped, painted and gessod a number of times and it never seemed to look right, so I tossed it into a drawer so that I didn't have to look at it.


I'm using a couple of die cuts to decorate the mask and some idenden tape.  I have cut the clocks out for the eye holes.


I had to manipulate the die cuts a bit to get them to fit around the eyes.


After I covered the mask in idenden tape I dabbed on some alcohol ink (butterscotch) to give it a bit of colour.


I then painted the mask with black acrylic paint and wiped most of it off and then dabbed a bit of gold gilding wax in places.  I think the lace at the top finished it off nicely.  I attached that with a brad.

Time for a glass of wine I think

Laters

Naomi x

Sunday 10 August 2014

A different way

Hiya

Yesterday I told you a little bit about what I have going on.  Well I hinted at stuff.  My friend Tina said I was a tease and in this case she was right.

Now normally I try to keep my design team project a secret until it is finished, but this one is a big one for me and more adventurous than my normal makes, so this time I am going to do things a different way.

I will do posts as I go along and show pictures.  I have already worked out the design and have a good idea in my head of how this will look.

I wont be putting up measurements as this is not a tutorial and I wont know if it will work or not until everything is in place.

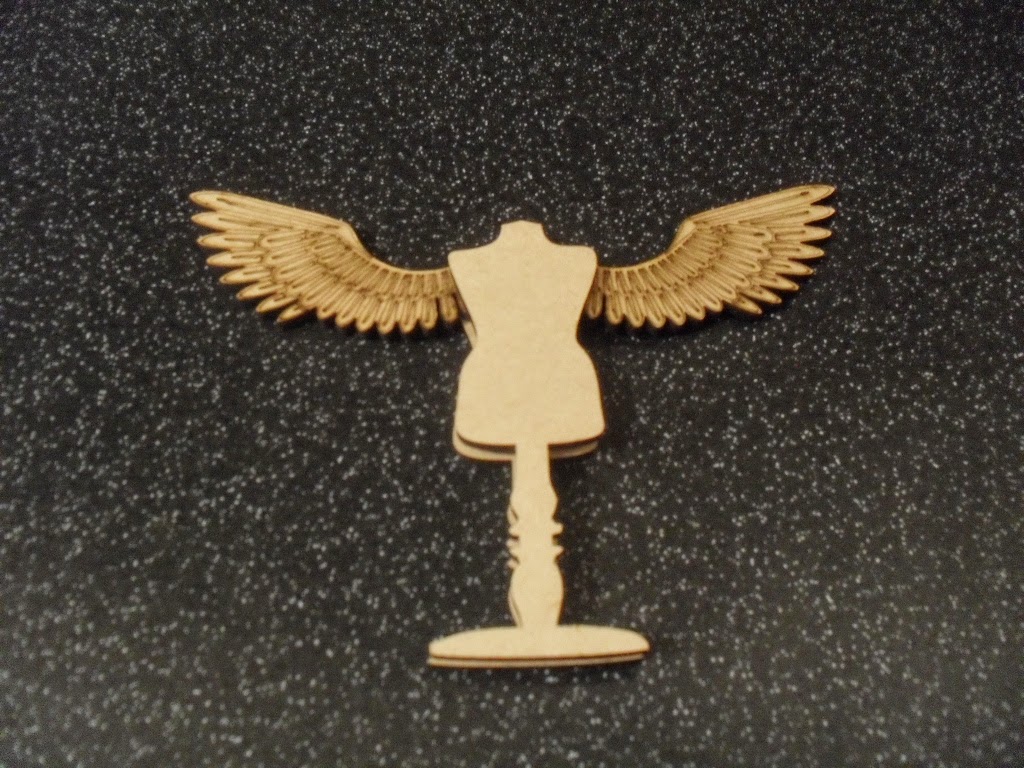
I'm going to be using some of these


and some of these


and this


Which is actually four pieces that I will be sticking together.

I'm also going to be using a whole lot of chipboard.

Basically I will explode if I can't talk about this and get some comments along the way.  So feel free to ask questions and make comments as I go.  The design is pretty much locked in, but as with most things I make, it will probably get tweaked some where along the way.

All of the pieces above can be found at Fernli Designs.  They sell brilliant cogs, which I have and use, but the ones shown above have been special cut for this project.  Thank you G x

I'm off to start cutting chipboard.  I'll put up an update as soon as I can so that you can see how things are progressing, but this project will probably take me a week or two as it is the school hols and I have my son to keep entertained.

Laters

Naomi x

Saturday 9 August 2014

A whole lot of new

I have a whole lot of new going on right now.

I have a new, adventurous (for me) design team make for Fernli Designs that I am working on that is inspired by this


This will be the center piece of what I am making.  This project will have moving parts, but having spent 3 days drawing things out on graph paper and making adjustments, I think I am ready to start making now.

Another new thing in the pipe works is a new potential business.  It will just be something small, but who knows what it could build up into.  I'm doing this with a good friend with a lot of talent, so I am crossing everything that this works for us.  more on this later as we are still in the planning stages.


This weekend I am setting up new challenges to run in Crafters @ Play.  The challenge sponsored by Fernli Designs had a great response so I am considering doing another event with a prize soon.  The lovely Heather Bee who handles the scrapbooking side of things in the group already offers a great kit for the winner of the scrapbook challenge each month.

My last new thing is a layout I am working on.  I plan to use a large piece of lace on this one as I can't find the right paper to do what I want. Looking forward to seeing how this turns out.

I'm off to craft for a bit and then for a look on Pinterest.  Catch up with you all soon

Laters

Naomi x


Wednesday 6 August 2014

This little house of mine

Yay I can show it off.  This is my latest design team make for Fernli Designs


This house was made using 2mm chipboard, 2 lace edge banners, 2 Fence panels and one window frame.

Some times I look at things and immediately know what I will make with them.  As soon as I saw the banners I knew what I was going to make. With this make I learned that you can cut the fence panels using a sharp craft knife and a metal ruler.  The hardest part of making this house was deciding what paper to use.


I wanted to be able to use the house as some sort of storage, so I designed it so that the roof comes off.

I'm planning to make more of these as Christmas presents and fill them with chocolate or small gifts.

If you would like to know a bit more about the house and how it was made, please click on the tab at the tops called "MY Fernli Designs"

I'm off to play with more Fernli bits

Laters

Naomi x